Photo tips

Home / Archive by category "Photo tips" (Page 2)

Are you ready for summer holidays?

Shake the city dust off your shoulders, drop your everyday routines and head out towards summer adventures!

Imagine how relaxed you will be when the only thing to do is to shoot pictures, finish all those books that have been collecting dust on your bedside table, eat great food and listen to waves hitting the beach or water splashing against the side of the swimming pool.

white_sands-538x309

All you have to do is to follow these five tips for traveling photographers to come home with breathtaking pictures of all of those great moments to share with your family and friends:

  1. Learn to handle your digital camera before you go on holidays. Check the manual and find all about the settings you would like to use and take some practice pictures. This way you will not be stressed out or miss any photo opportunity because you had to fiddle with your camera.
  2. Put everything you need to bring including accessories in one place (camera, spare batteries, charger, power adapters, memory cards, camera bag).
  3. Pack your camera in a way that will allow you to have it with you at all times ready for use.
  4. Use the work of others for inspiration. There is very little that cannot be found on Google.
  5. Plan to shoot at only one or two main locations per day. If you use a top of the line SLR, think about what lenses you will need to bring, that way you will not be tired from carrying a heavy bag around all day.

Next time we will bring you more tips on taking pictures on the road so make sure to come back soon.

How to clean lenses on the road?

How to clean lenses on the road?

Even if you are attentive to your photo equipment, you can’t avoid the necessity of cleaning your lens. Unlike the cleaning of DSLR sensor, the lens care is not difficult while traveling, you just need to have the right equipment. Let’s describe whole process step-by-step:

Step One: Clean by air

The gentlest way to clean your lens is blowing of clean air. In this way you usually remove most of the impurities without any scretches. Never blow by mouth! Always use the special blower.

Step Two: Brush

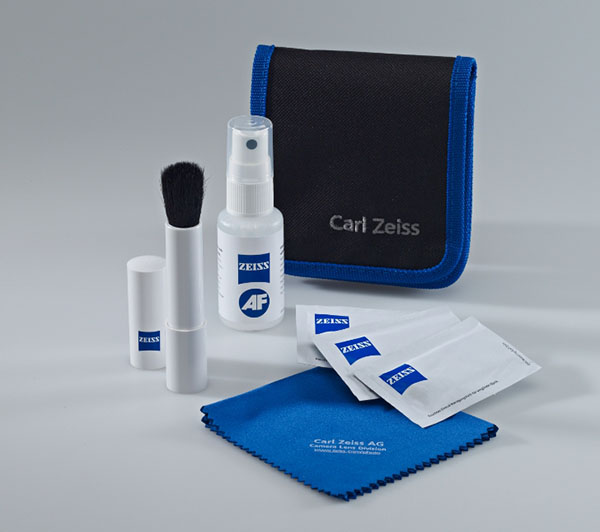
If the solid contaminants like dust stuck remained on the optics after the first step, gently remove it using special dust removal brush. I have very good personal experience with Lenspen which combines brush and non-liquid cleaning element from graphite.

Step Three: Moistened Cleaning Tissue

The special solution for cleaning the optics must be used for removal of greasy soils. The liquid transportation is not very practical specially for air traffic safety regulations and that’s why I’m traveling with Moistened Cleaning Tissues. These one use moistened tissue perfectly clean the greasy soils without any spots and if you have followed the step 1 and 2, you don’t need to be afraid of scratches on your lens.

In conclusion it is good to highlight that there is no need to clean the optics if you can’t see any impurities on your photos. Minor dirt will not endanger the lens or camera because they are far away of depth of field.

Less cleaning means longer lens life!

Do you have your own favourite style of cleaning? Let us know and we will share it to others!

Amazing photo safari in Botswana

Amazing photo safari in Botswana

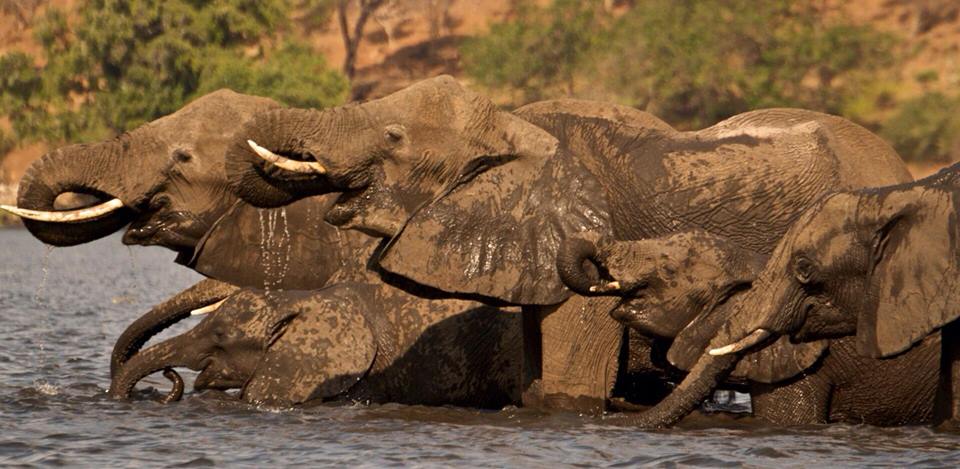
To say the Botswana photo trip was a journey into a very different world is an understatement. The country is not as besieged by tourists as the more popular Kenya, so the wild world welcomed us with open arms as we entered a landscape barely touched by humans. We rented open Jeeps and set off on a Safari in the Chobe National Park and the Okavango Delta. As soon as we hit the unpaved road we found ourselves worlds away from civilization, both physically and mentally, instead of cars there was a family of elephants heading towards us. From a respectful distance we watched the majestic animals and waited until they deigned to move and let us pass.

It goes without saying that we did not waste this opportunity and forever immortalized the pachyderm beauties with our cameras. By the way, unless you are a professional photographer, it pays off to bring a wide angle lens to a Safari, be it a DSLR ultra-zoom or an 18-250. Botswana is an incredibly dusty country so frequent switching of lenses means lots of dirt on your camera chip. However, if you are a true Safari connoisseur, 120-300 mm or 200-400 mm lenses will be an excellent choice. Long-focus lenses are not very practical because of the haze and omnipresent dust.

We have encountered them on several more occasions because our camp was near a water hole frequented by every elephant in the neighborhood. In Africa, you have to adapt your daily routines to those of the animals, so we got up every day around four to watch their morning rituals, holding our breath in awe.

A couple of days after setting up camp we experienced another close encounter – a hungry lion strayed near our tents. Yet again, we found ourselves holding our breath, but this time, taking pictures was the last thing on anyone’s mind. Perhaps he was tempted by the smell of our dinner being cooked by our guides, who conjured up delicious meals including to-die-for deserts using only a piece of chicken wire stretched over a fire pit.

During our two weeks in Botswana we snapped not only all of Africa’s big five, but also more than forty other animal species, incredible sunsets and picturesque huts of the native tribes. Organizing a trip to Botswana may be challenging, but it is definitely worth it.