Get to know Pixbuf ! Plan your trips with Fripito and share your pictures with Pixbuf!
Get to know Pixbuf ! Plan your trips with Fripito and share your pictures with Pixbuf!
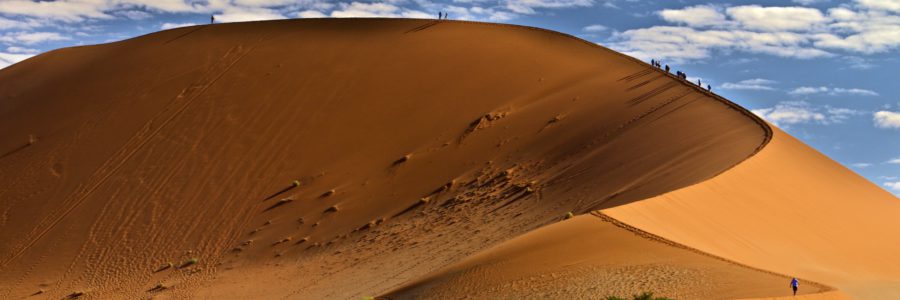
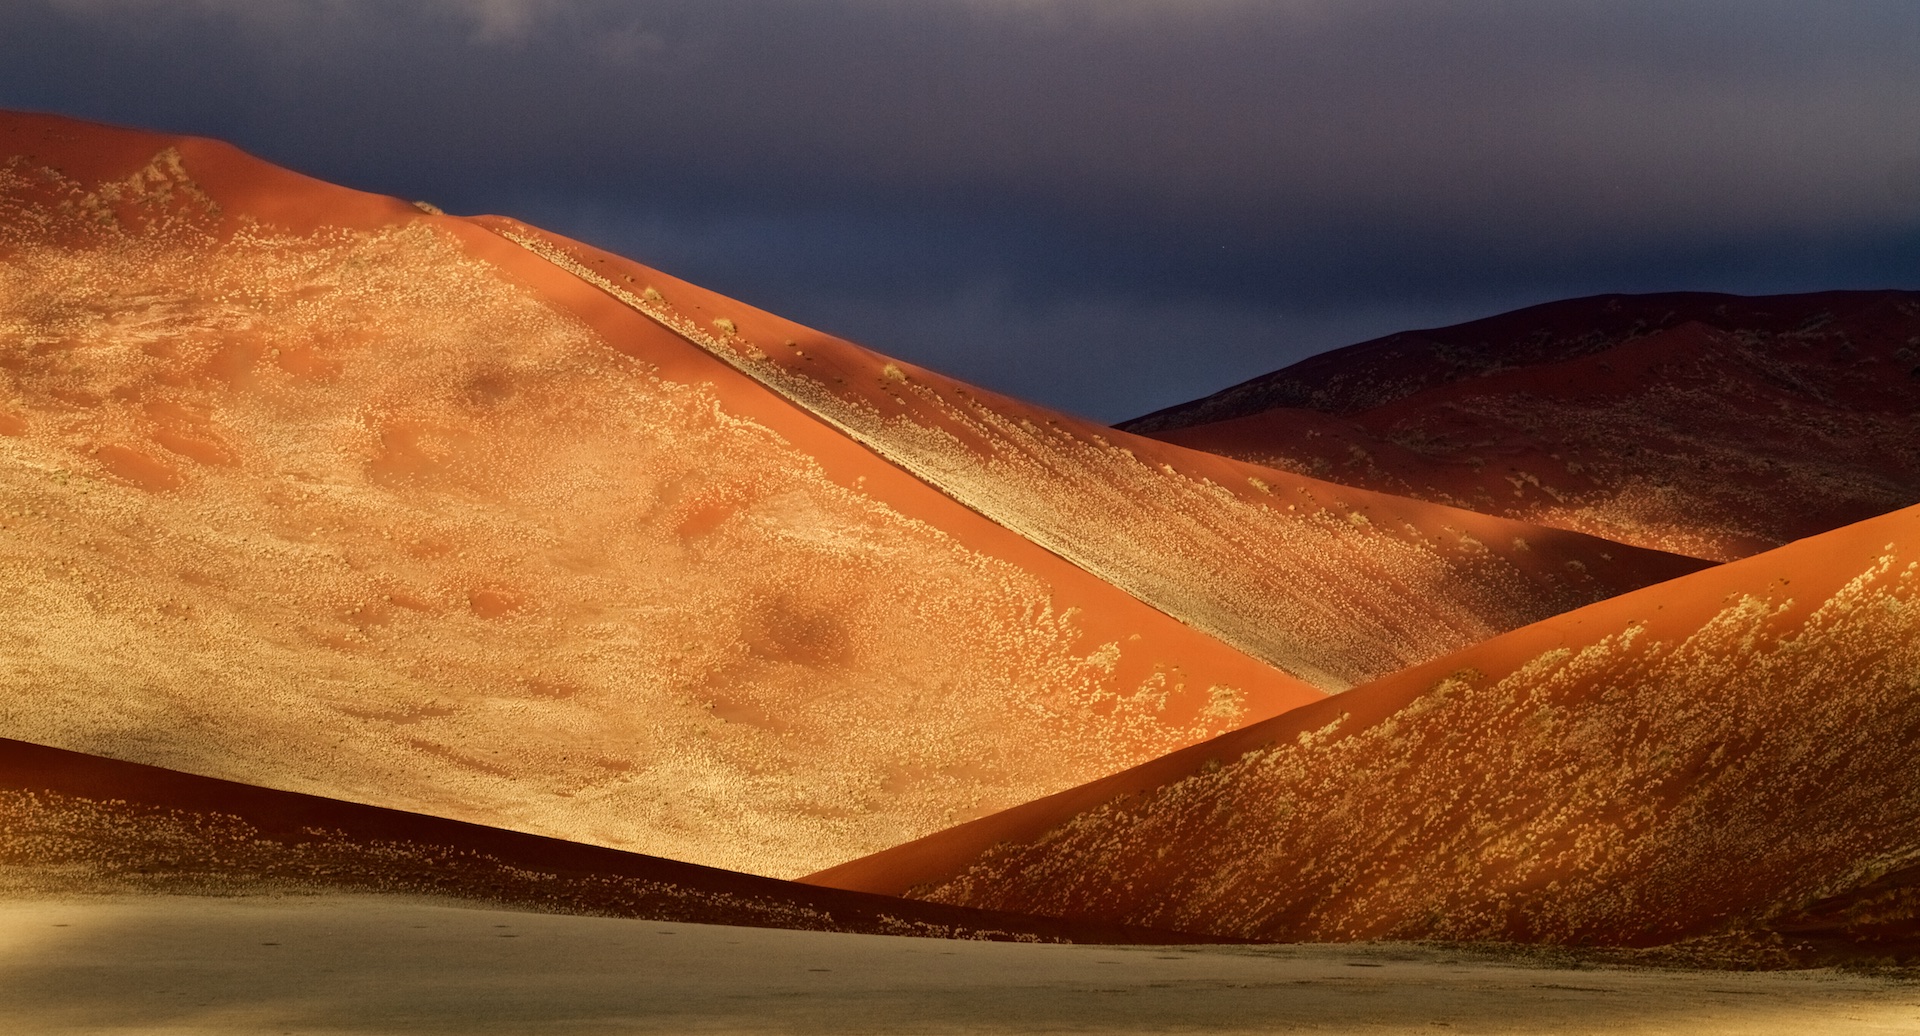
There is something magical about taking photos of desert dunes. The combination of geometry, elegance and the colors makes it one of my favorite photo locations. During my career, I’ve taken photos in deserts of five continents and I try to shoot in deserts at least twice a year. Here are few of my tips how to enjoy desert photography and Take Photos in the Desert.
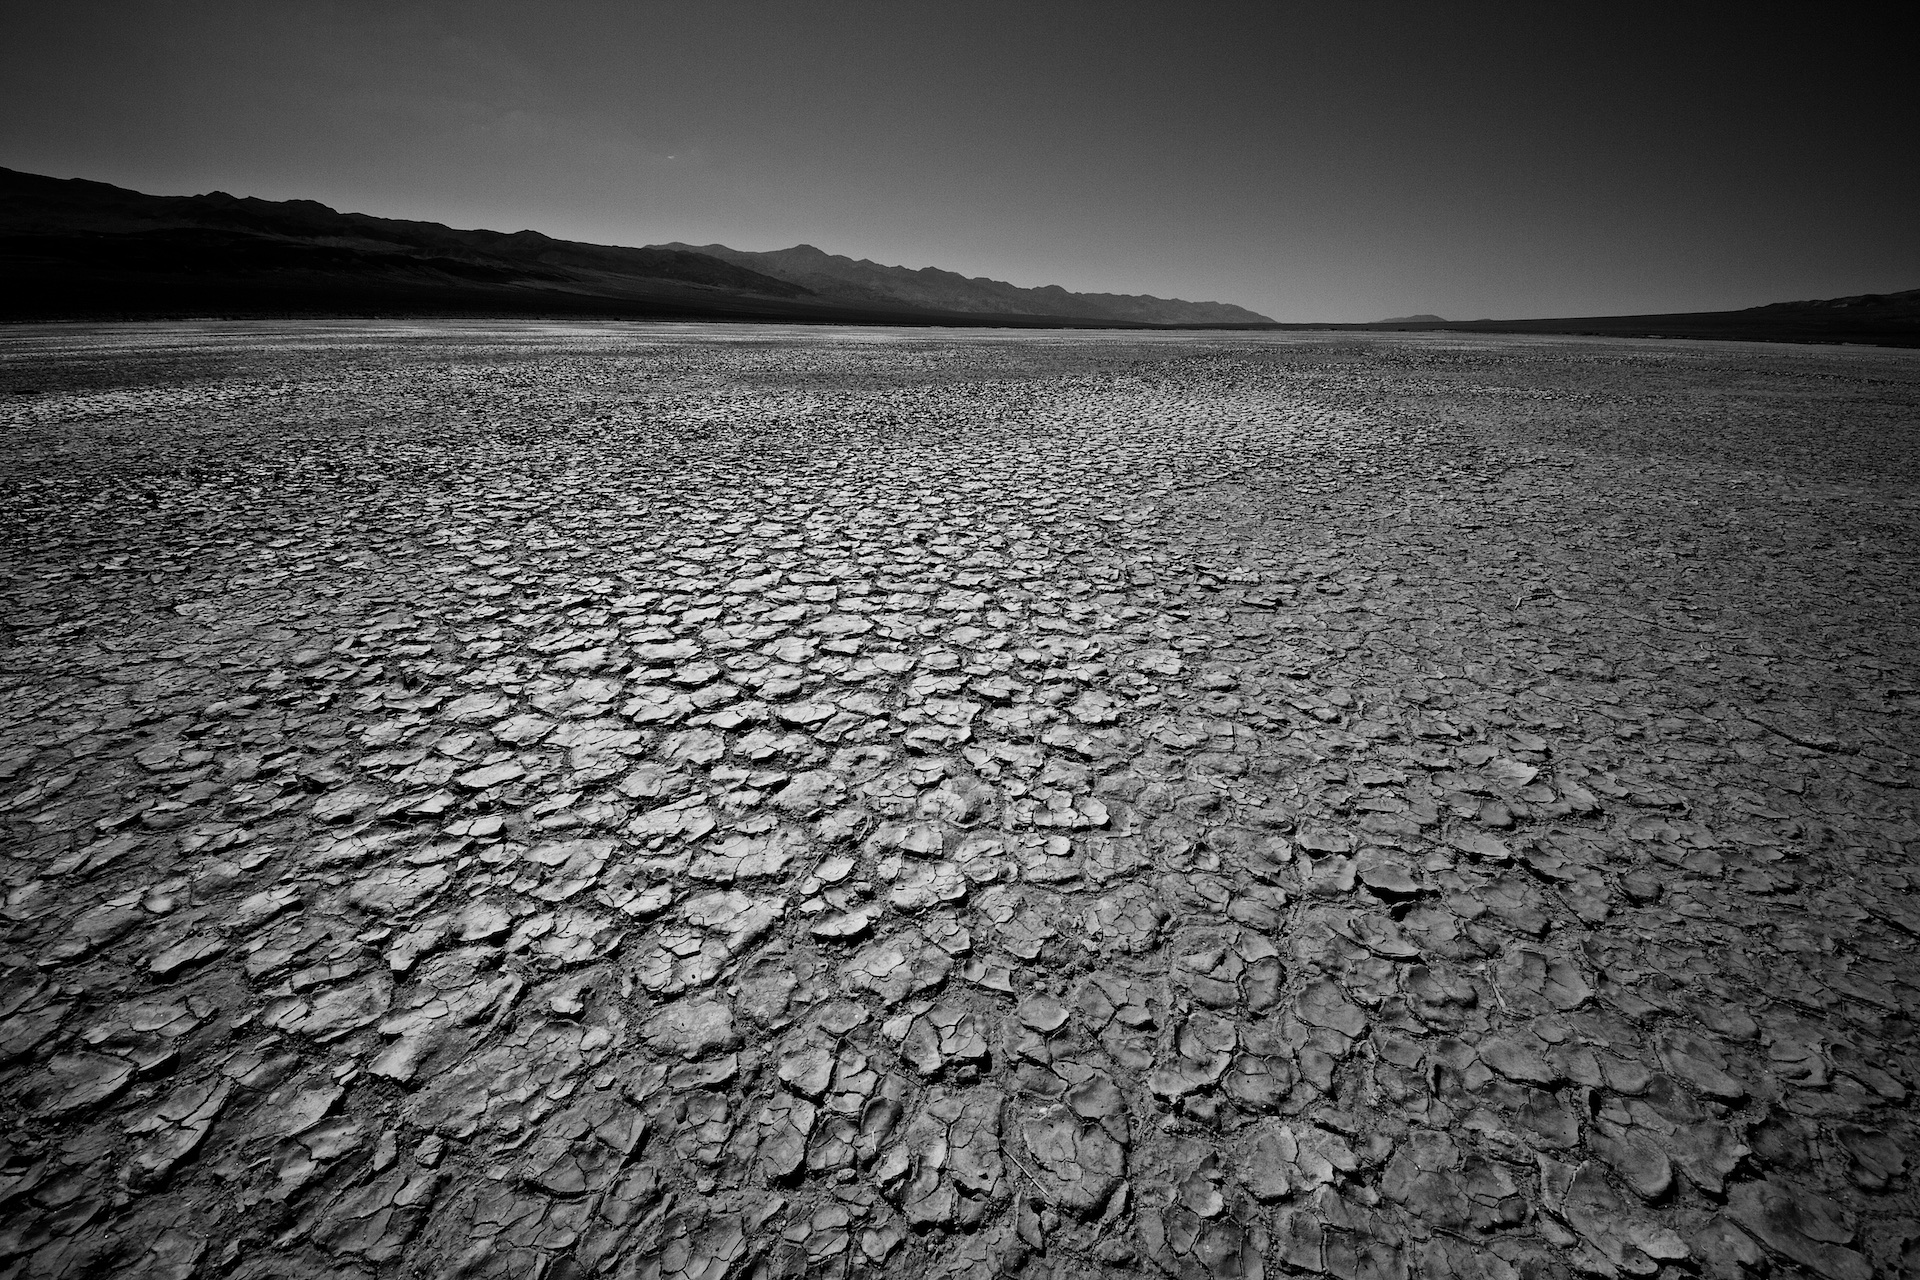
It’s the key for desert photography. First step is choosing the right season – cooler months with bearable temperatures that allow longer period of time spent outside shooting. When you visit Death Valley in July, you can expect daytime temperatures approaching 120 ° F and night temperatures around 90 ° F. But when you go in January or February, you can enjoy the shoot with pleasant 70 ° F.
Furthermore, it always pays off to look for special occasions. I’ve experienced rain in the Namib desert, photographed the desert animal cubs in Atacama or blooming wildflowers in Death Valley.
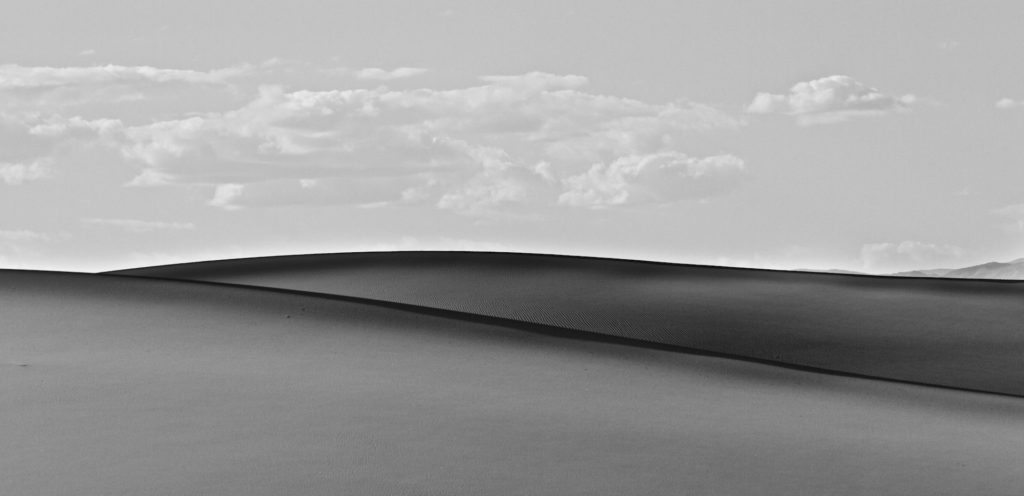
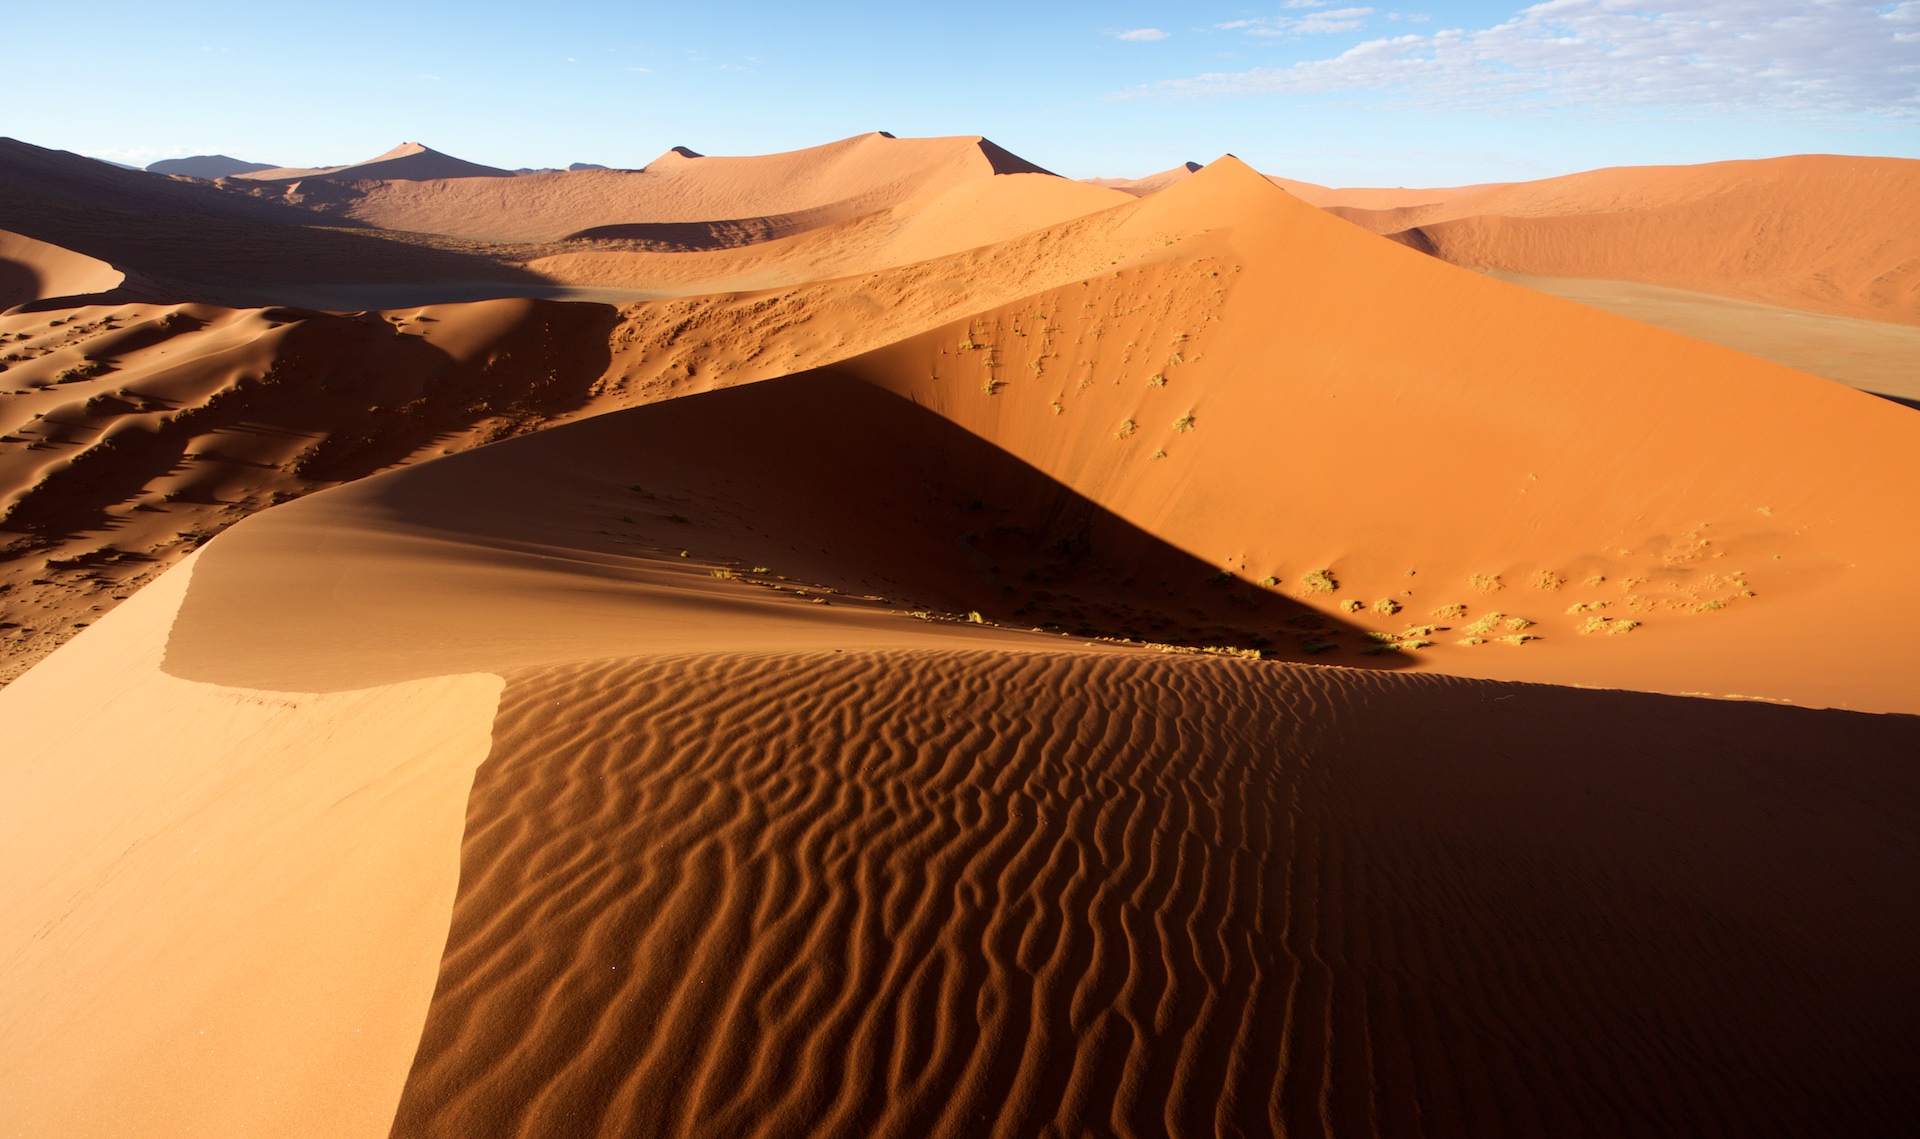
Photography is a play of light and shadows which is very true when shooting in desert. If you want to capture the dunes lines or the structure of undulating sand, you need low light. The best time for that is usually about an hour after sunrise and about an hour before sunset.
In the morning, the air is cooler and usually cleaner, so the photos are sharper. I usually try to get up early and head out before sunrise and climb up the highest peak in the area. In the evening, the air is hot and often full of dust. The haze, shimmering air and dust reflect and refract light so the pictures are more colorful with more atmosphere, but are less sharp.
When shooting in the deserts, I try to avoid taking pictures with the sun behind me. In such images, the shadows are not visible, so you lose both contours and structures. Side light and backlight are interesting options, the shadows are forming lines and underline structures.
Beware direct backlight as any contaminants can cause glares on the lens. It pays off to have brush ready to remove eventual dust from the lens.
Deserts are very dusty although it might not be apparent at first. Try to minimize interchanging lenses, memory cards and batteries as each opening of the camera means dust getting inside. My way to deal with this is to have two cameras ready, one with ultra wide angle lens for large landscapes and second one with telephoto lens for details. If you have to change the lens, then get inside a car and wait at least half an hour until the dust settles.
It is very important not to underestimate the risks associated with overheating. This is true both for the photographer and equipment. Always have plenty of water, do not overestimate your strength ad try to use sun protective clothes and sunblock. Try to protect the equipment from overheating. It happened to me many times that overheated camera turned off automatically and overheated lens stopped focusing.

Shooting in the desert is beautiful and it truly is one of my favorites. If you are considering desert photography, find your inspiration in the guides available within Fripito app. Download Fripito travel photography guides for iOS or Android.
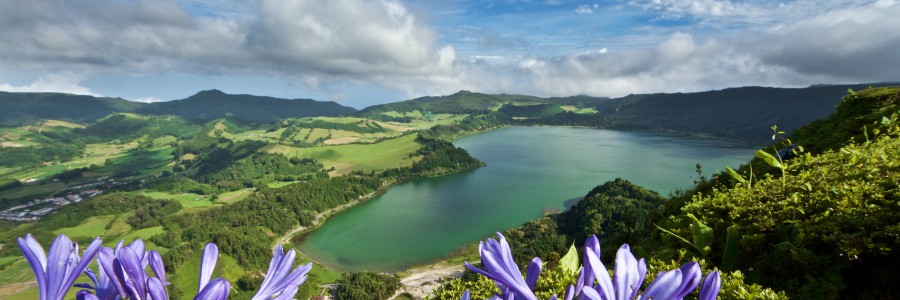
Sao Miguel is the largest and the most varied of nine Azores islands. You will find beautiful volcanos, deep lakes and evergreen landscapes there and island is all year blooming! I choosed five photographic gems of Sao Miguel which you cannot miss. You can download my full travel guide of Sao Miguel for photographers too.
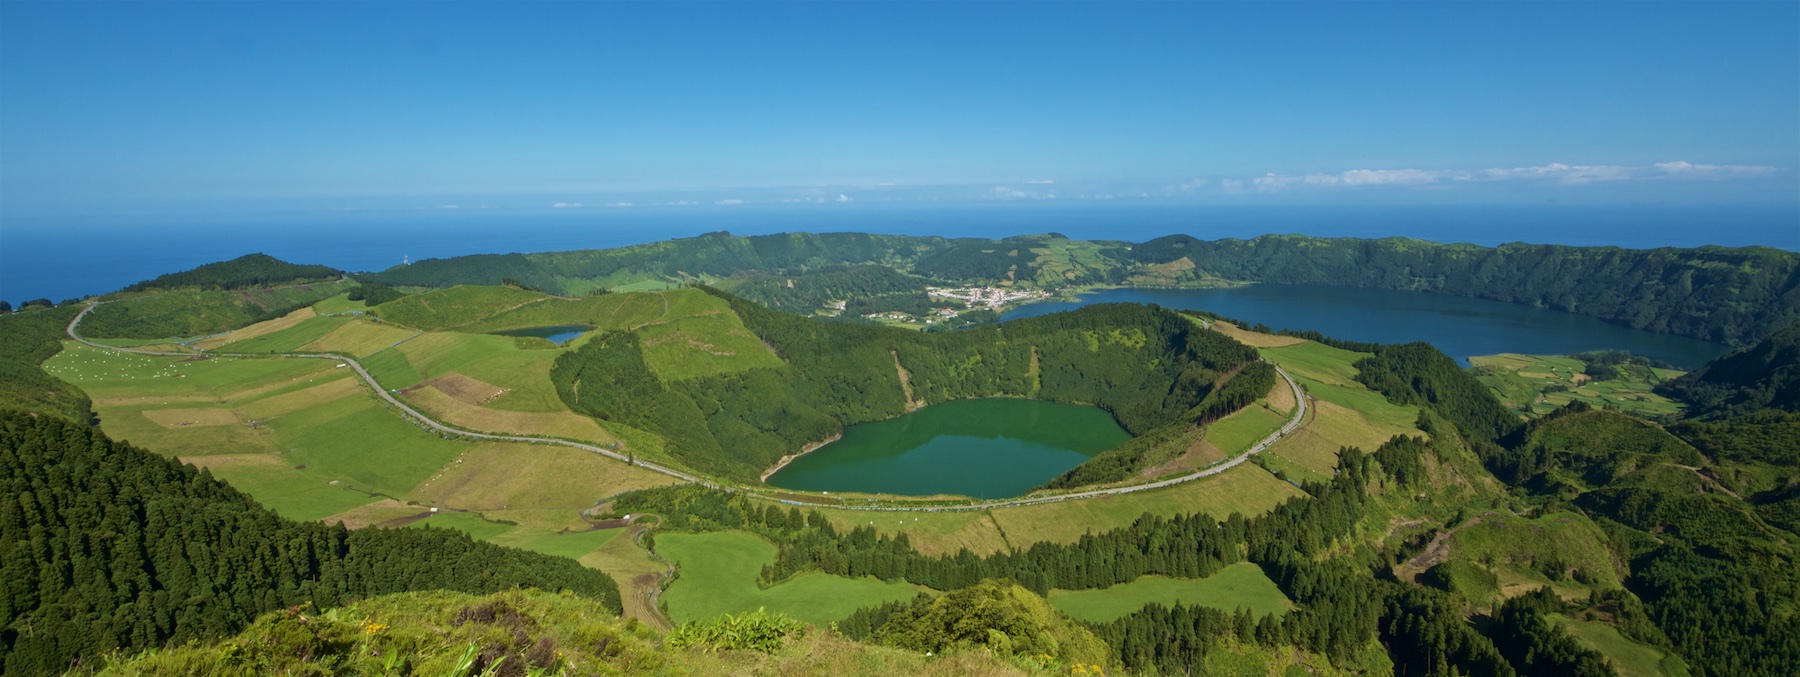
Sao Miguel was created by volcanos and you will find 3 big volcanos there and many small till this days. The largest caldera is located in the west part. 3 miles wide and almost 1500 feeds high walls in Sete Cidades area hide four lakes overall. Boca do Inferno is my favorite viewpoint for this area. The best light conditions start at late afternoon and this place is awesome till deep night.
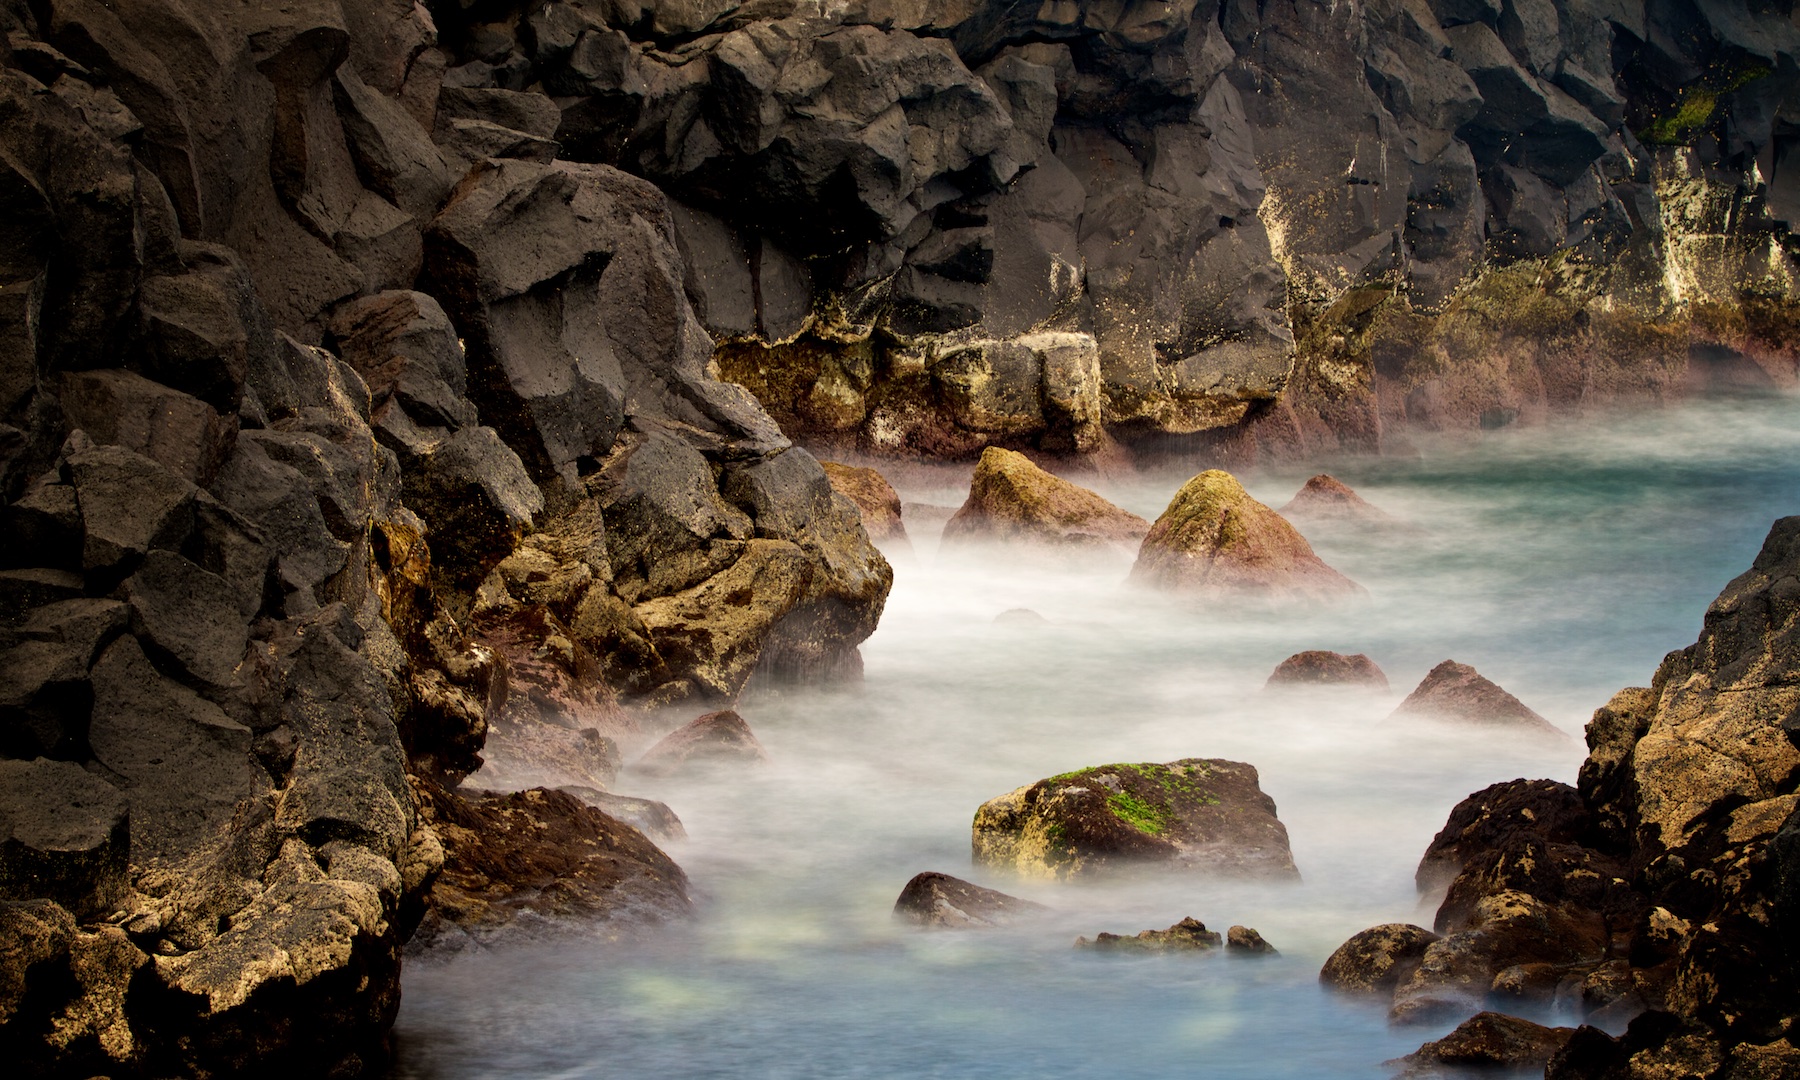
The lava cliffs with unbelievable contrast cover the most of the north coastline . The best views is to be find in the North west part, for example at port of S. Vincente Ferreira. There is natural swimming pool also. Take you tripod and try long exposures!
There is a lot of tea plantations and family tea factories specially in the north east part of island. Azores are the only place in Europe, where the tea is grown. Chá Gorreana is my recommended spot to start. Walk the tea plantations and taste the local tea. You will enjoy the best light before sunset.

Faial da Terra is a small village in the south east coast of Sao Miguel. The 3 miles long round track to Salto do Prego waterfall starts there. You will walk through deep green forest and the waterfall is hidden in deep river valley. Don’t forget your tripod and wide angle lens.

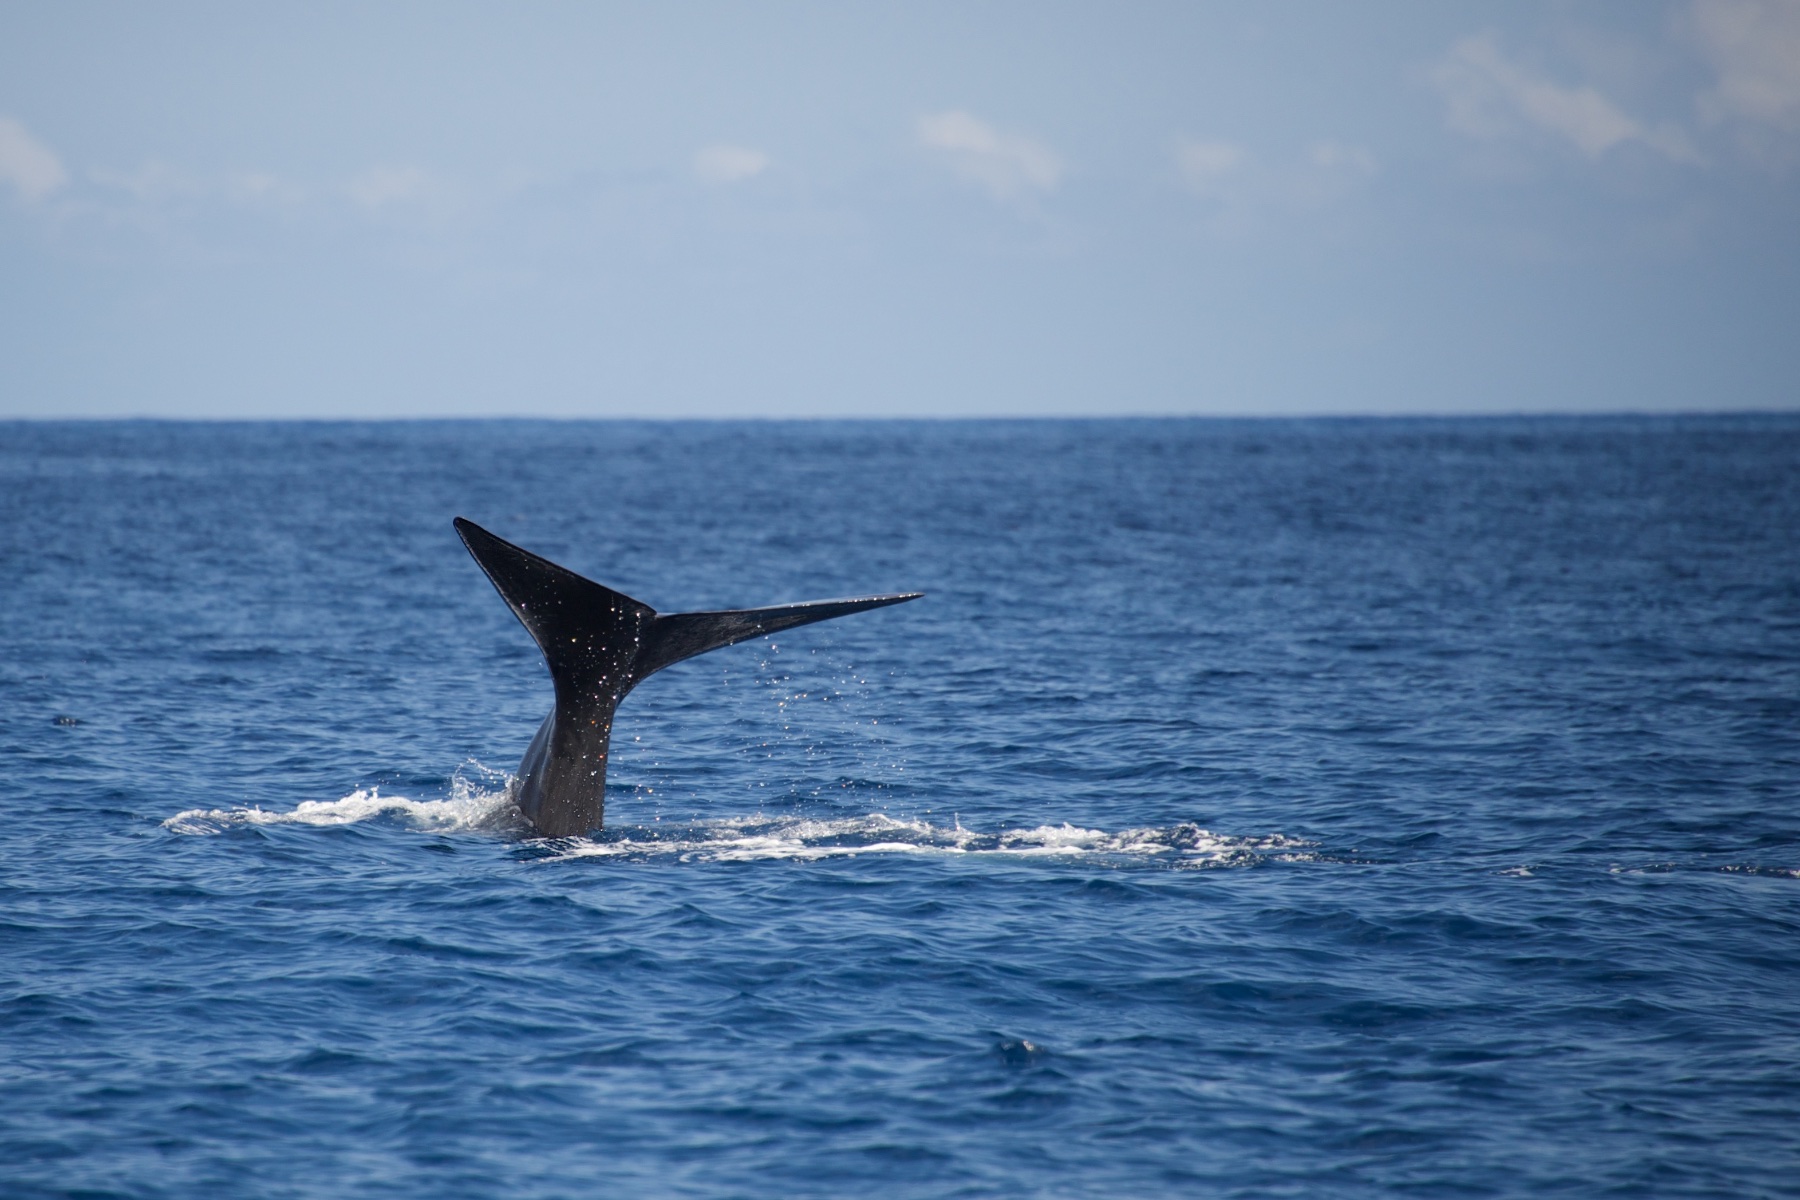
You can take boat trip for watching whale directly from the port of capital city – Ponta Delgada. Boats set off every day and the best choice is an early morning small boat trip. Reserve your seat in advance during the main seasson. Whale watching is extremally popular because there is a high chance to see the huge mammals every day!
If you are going to Sao Miguel, download my full travel guide for photographers. It includes 70 places with exact GPS, photo tips, travel recommendations and offline maps.
HOW TO GET THE GUIDE?
It’s very simple: