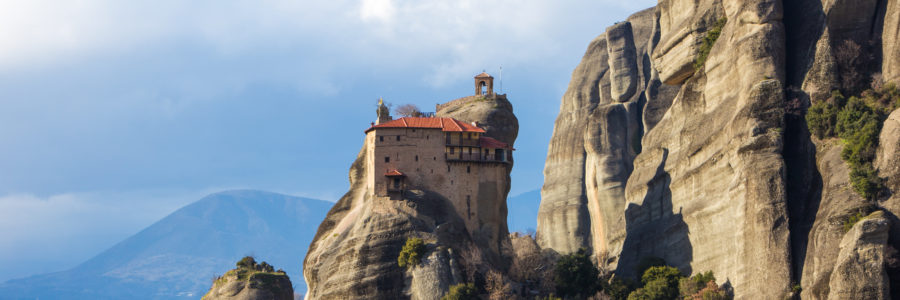
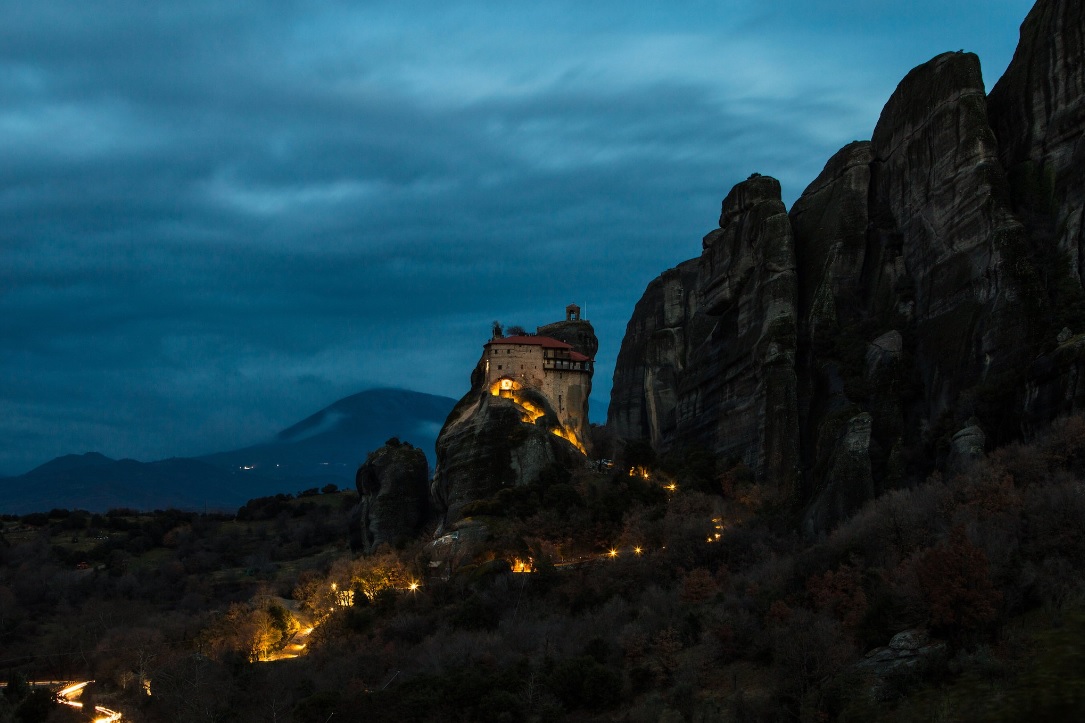
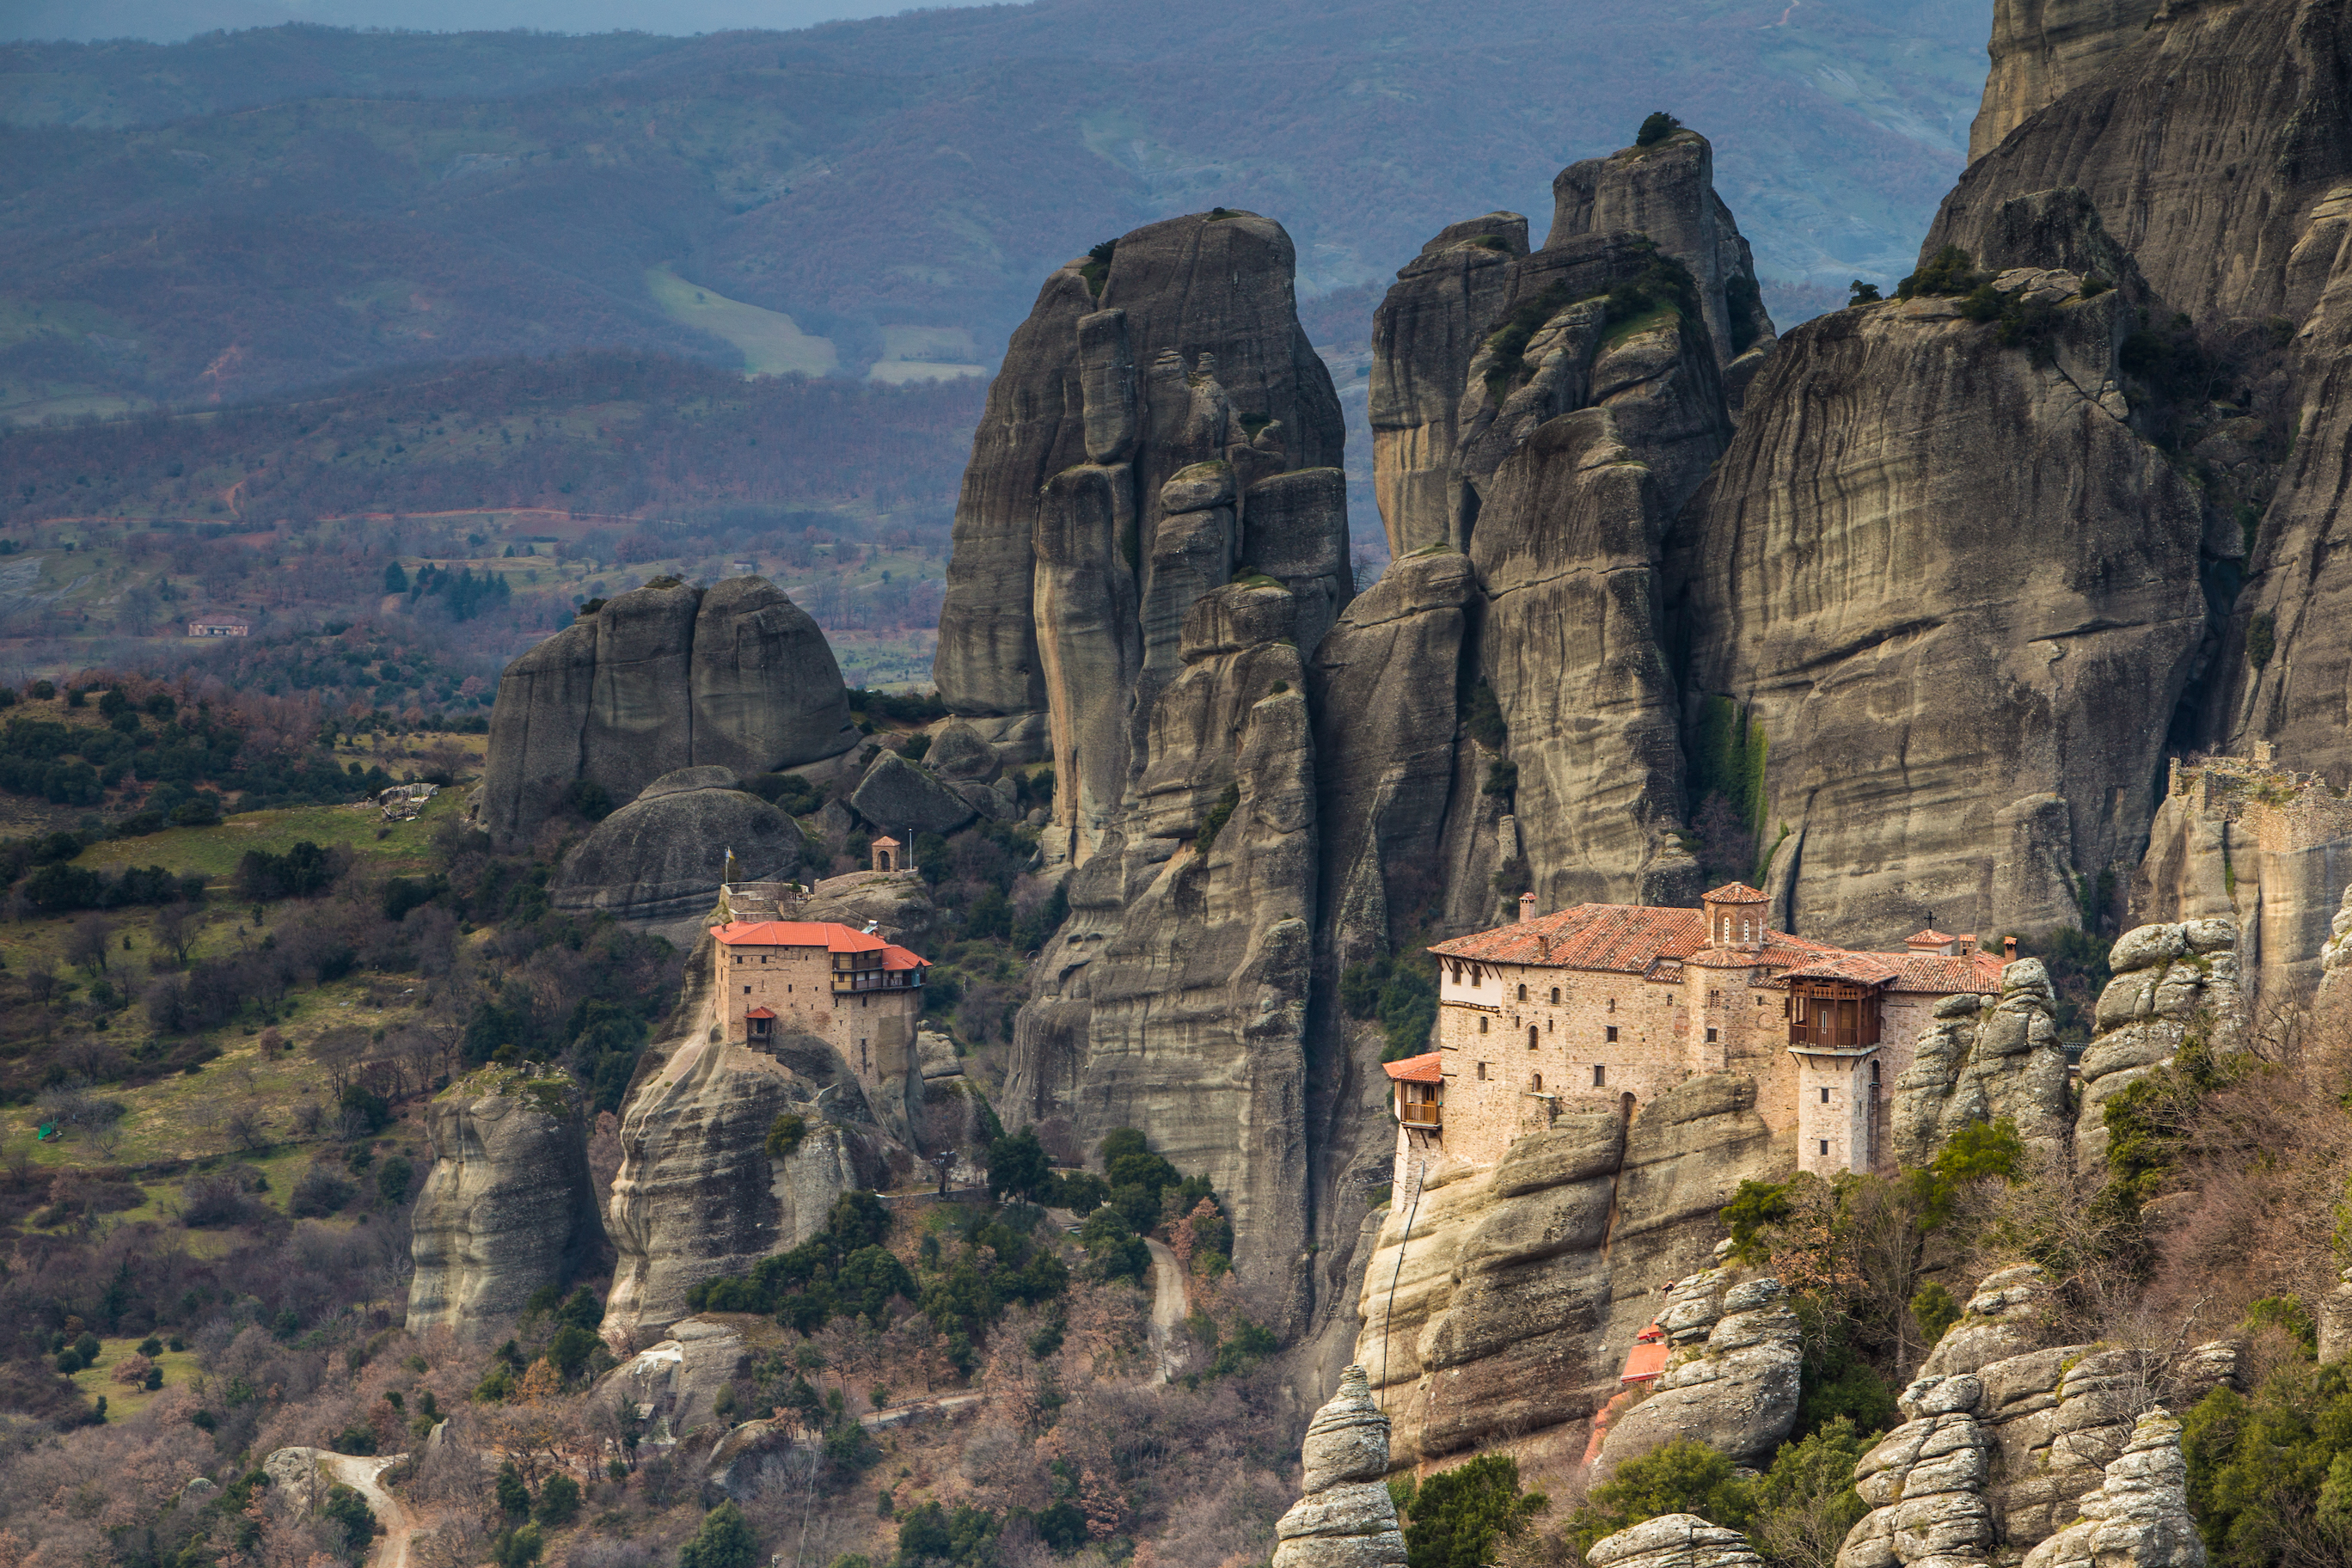
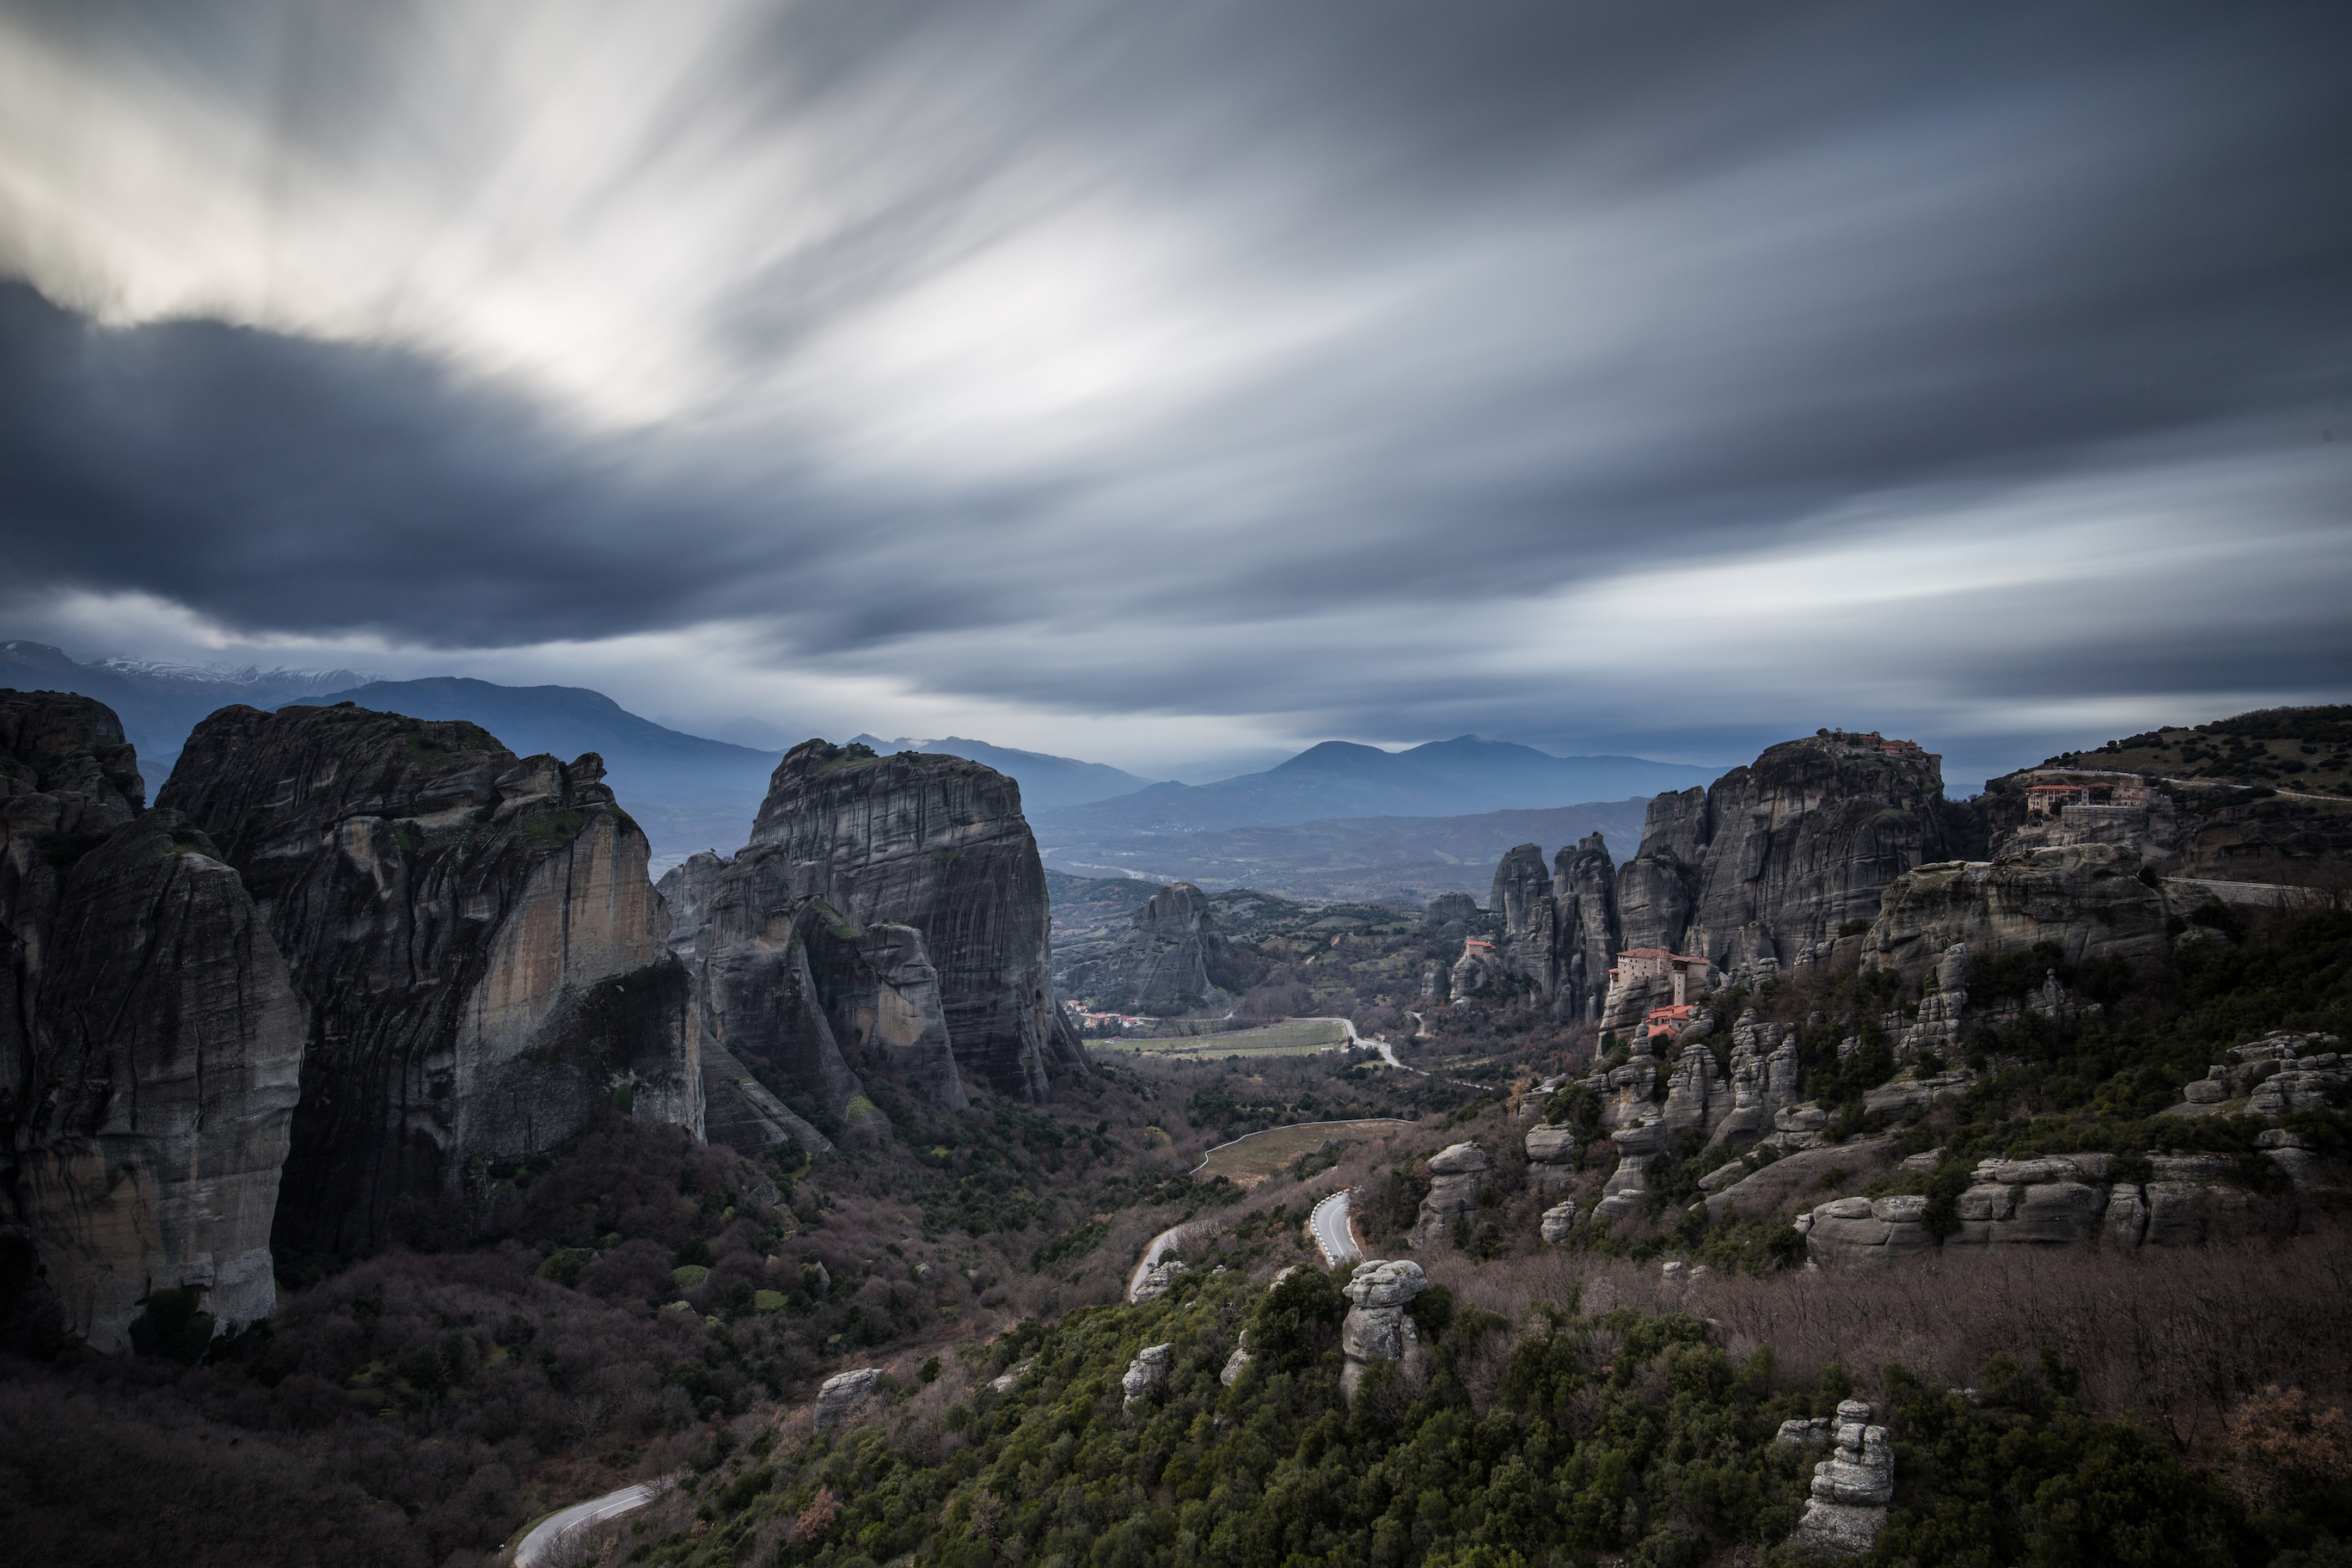
Metéora monasteries are located in the northwest corner of Thessaly near the towns Kalampaka and Kastraki. This is one of the most spectacular places to visit in Greece. Metéora means ‘suspended in air’ and it is a name for entire rock community of 24 monasteries on the top of almost inaccessible sandstone cliffs. The area of Meteora was originally settled by monks who lived in caves within the rocks during the 11th Century. It is a unique phenomenon of cultural heritage. The most important monasteries of Metéora are The Holy Monastery of Great Meteoron, The Holy Monastery of Varlaam, The Holy Monastery of Rousanou, The Holy Monastery of St. Nicholas Anapausas, The Holy Monastery of St. Stephen and The Monastery of Holy Trinity. All these monasteries are on the top of Metéora rocks.
If you are looking for more in-deep tips, try our Metéora travel photo guide.
Basic facts about Metéora Monasteries
Country: Greece, Prefecture of Trikala, Region of Thessaly
Area: 271.87 ha
Language: Greek
Entrance fee: The entrance fee for all monasteries is 3 Euro per person.
Best Time of Year to Visit
Visit Meteora during shoulder season or off season if you want to make the most of your trip. Otherwise you will be overrun by herds of tourists. Off season starts November and ends in March and during this time, you should have the park for yourself, although it can get a little foggy during fall. Spring might be the best option if you want to get the amazing views without the crowds.
Getting to and around Metéora
Kalambaka is the town at the base of Metéora offers exceptional connectivity and relative short distances to most of Greece’s major population centers, touristic places and transportation hubs. It can be reached by direct train or bus from Athens.
For getting around Metéora, you have 4 options – you can either rent a bicycle, scooter or car or go by bus. Getting around in car can be comfortable, but parking might be a challenge since you can only park in certain areas inside the park. The best option might be the scooter as it is cheap to rent, easy to park and definitely more comfortable for the climb up to the monasteries than bicycle.
Where to Stay and Eat
The nearest town of Kalambaka is the best choice and there are many hotels available. The town offers also many really nice restaurants, the region is well known around Greece for its traditional cuisine and especially the quality of its meats. The nearby village of Kastraki also offers a wide range of restaurants and taverns to choose from for lunch or dinner made with locally produced ingredients.
How Much Time to Spend
Plan to spend at least a full day at Metéora Monasteries, a full weekend is our recommendation. You will delight in the play of light on the rocks and their changing moods. On sunny mornings, the red roof tiles of the monasteries glisten in sharp contrast to the weather-stained grayness of the rocks. The late afternoon sun bathes the landscape with a golden glow. At nighttime, the rocks are dramatically illuminated by spotlights.
Visiting the Monasteries
Most of the monasteries are open to public from 10am to 4pm, depending on the season. The entrance fee to each is 3 Euro per person. To enter the monasteries you must respect a special dress code: long sleeves, covered shoulders, long sleeves, long pants or skirts. Find out more attire tips here. Remember to carry bottled water, especially if you are visiting the monasteries by foot. There are refreshment vendors along the road by the monasteries but their prices are excessive.
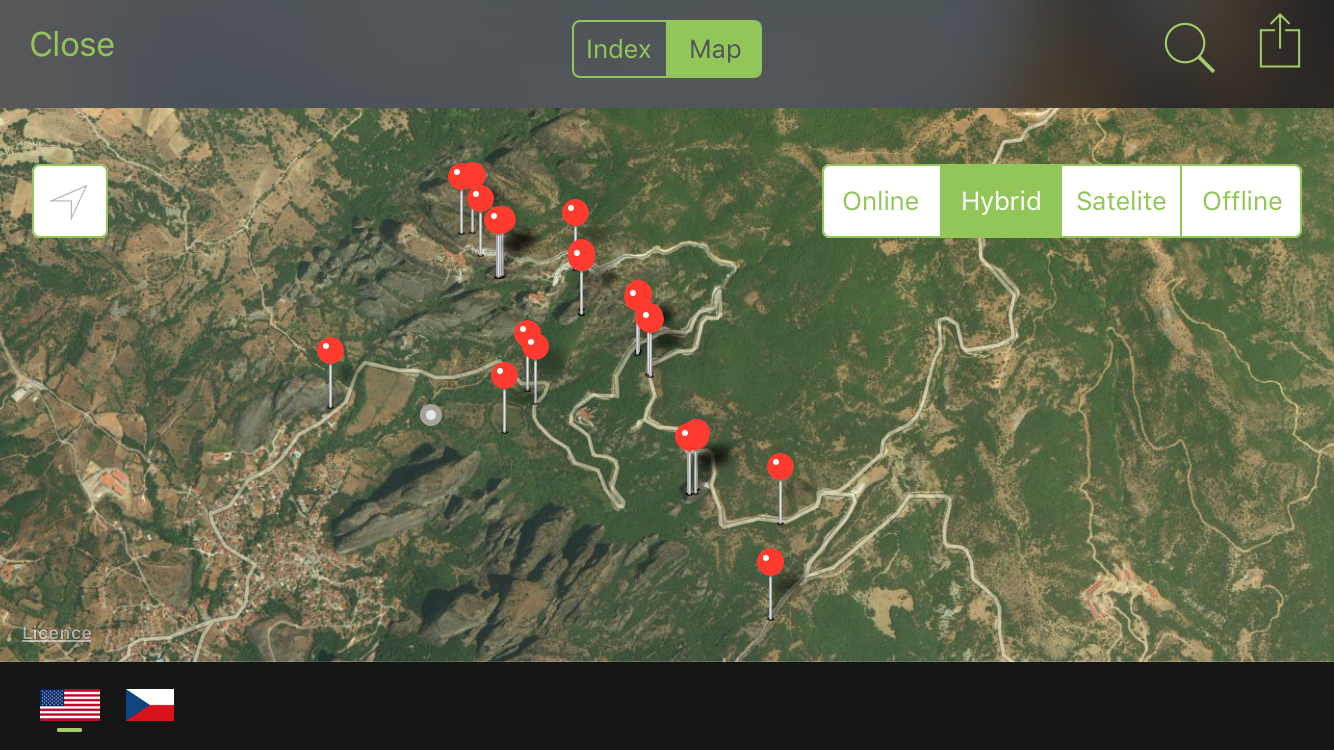
Are you looking for more travel tips for Meteora? Download our Fripito app for free to iPhone or Android phone and explore more than 30 photo spots selected by Brendan Van Son!

